You may have heard the term “Rule of Thirds” before. Maybe in an art class you took in high school or an article in a photography magazine. But, do you know what it is and how it can improve your photography? If you answered “No”, then here is a brief and simple explanation.
What is the Rule of Thirds?
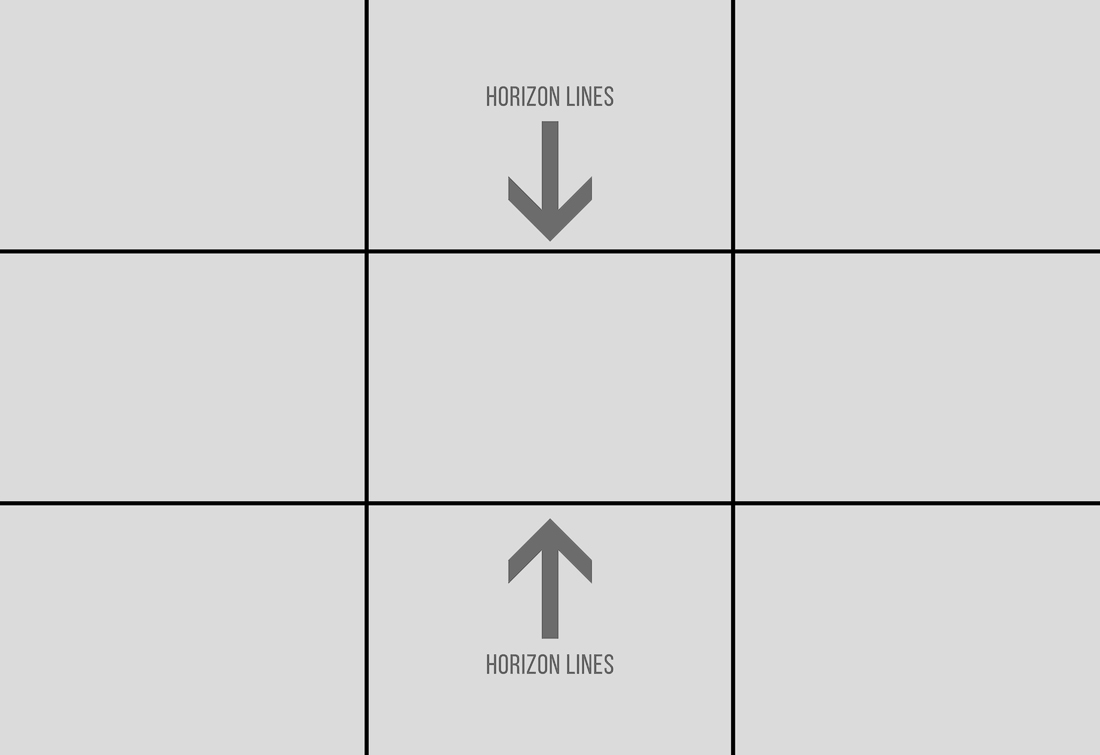
The rule of thirds is basically a visual guide used to create a more visually interesting and balanced composition. Imagine a tic-tac-toe grid superimposed onto an image. This grid divides the image into equal thirds. There are two main features of the grid; the horizon lines and the points of interest.

The Horizon Lines
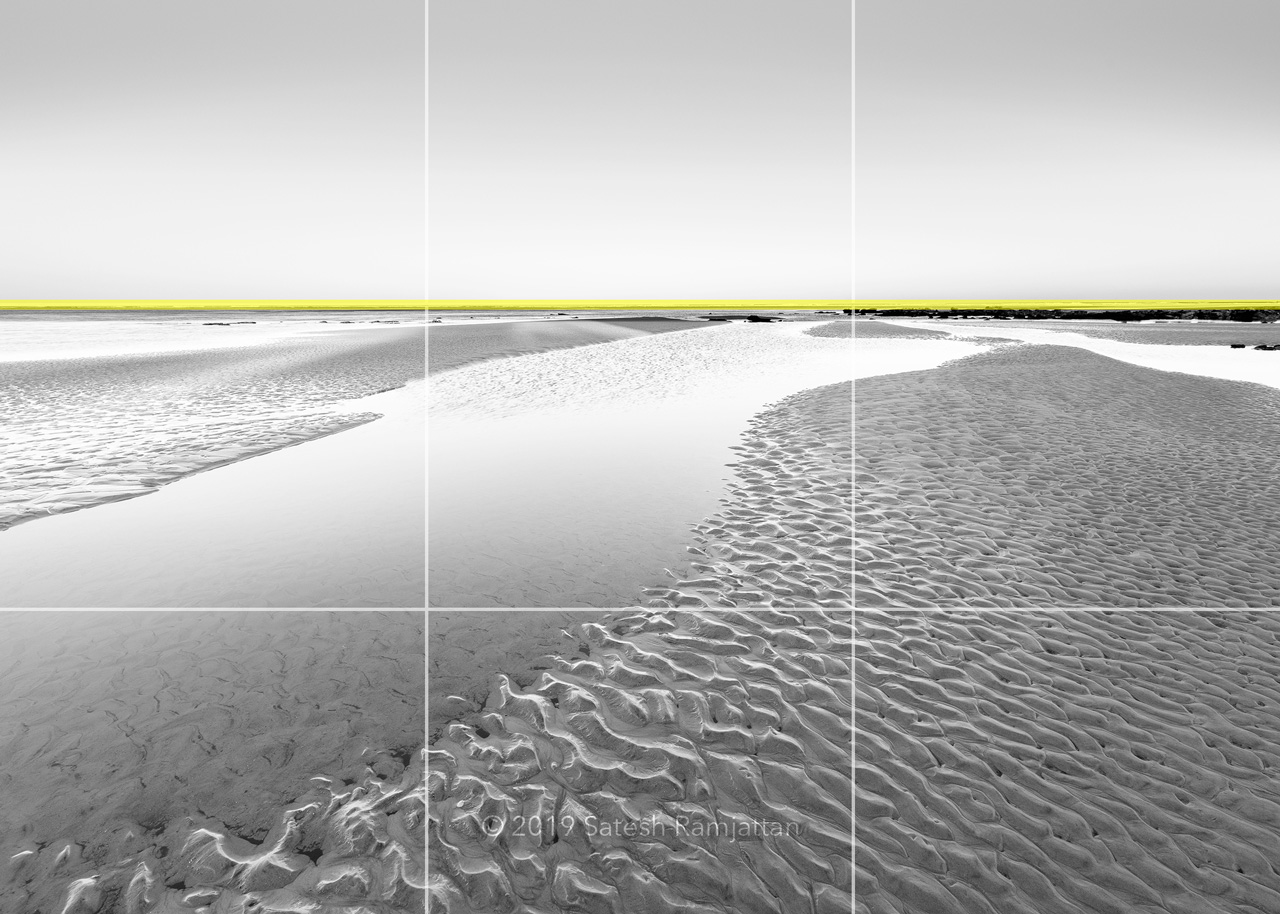
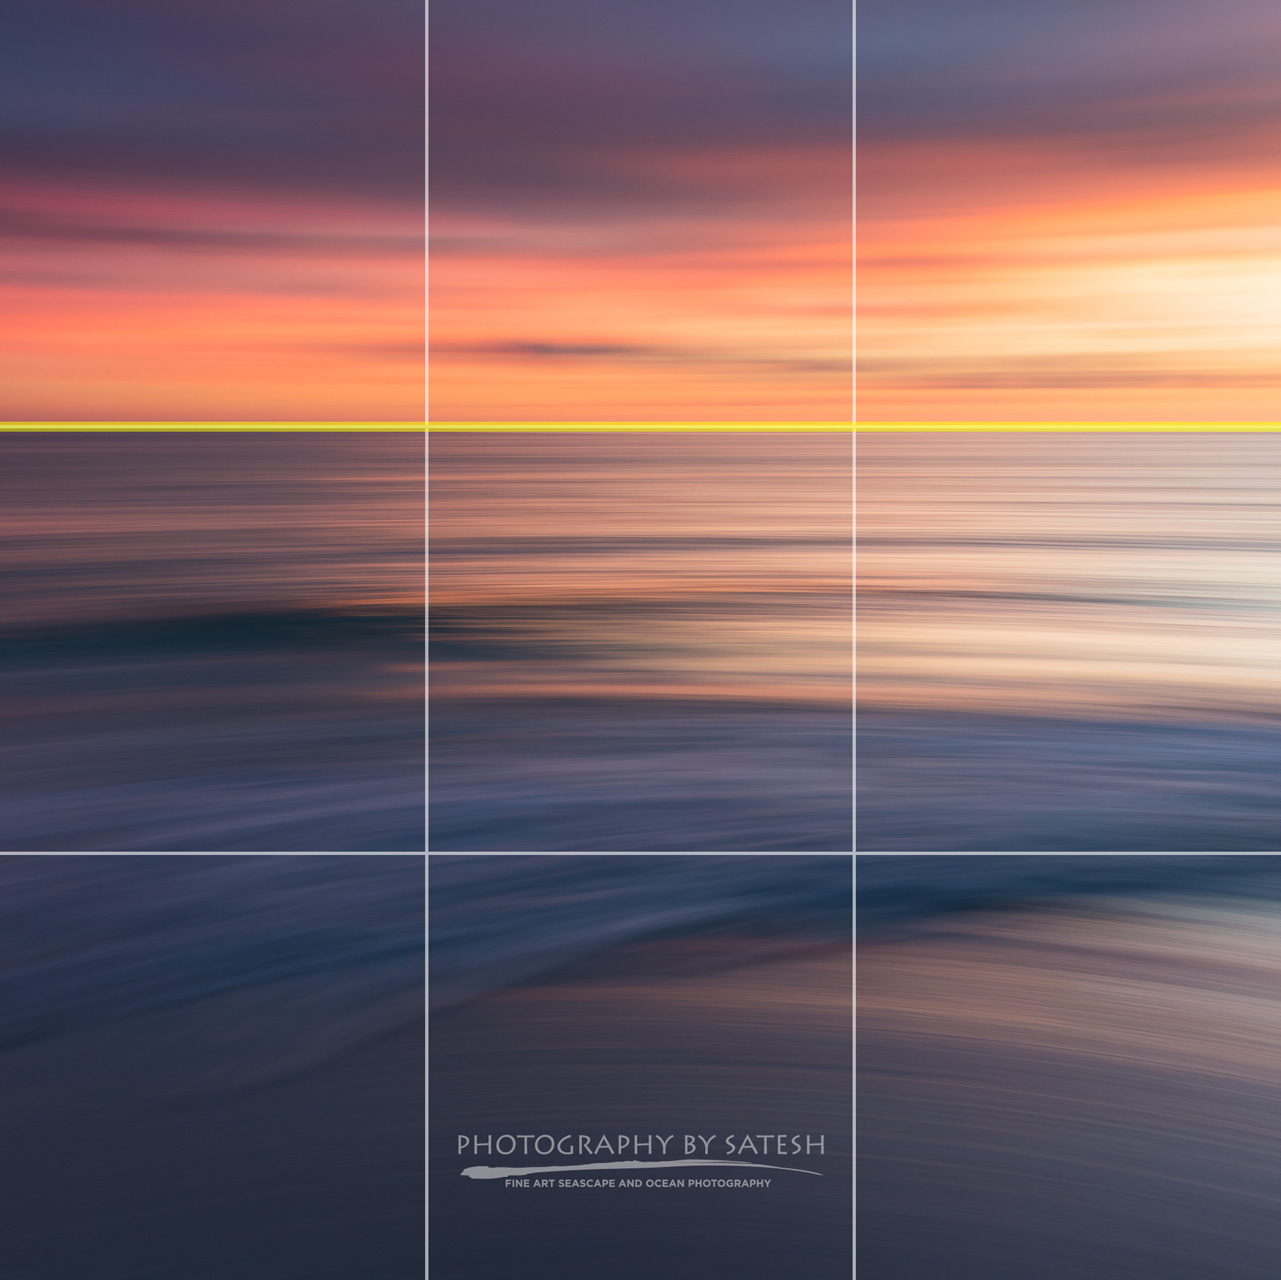
The rule of thirds states that the horizon of your photograph should be placed along one of the two horizontal lines. For example, when shooting landscapes you have to decide which part of the scene you would like to see more of. If you want less sky, then place your horizon along the top line. Conversely, if you want more sky, then place the horizon along the bottom line. The decision you make should be based on where your subject is. For instance, if your subject is a set of rocks on the beach, then you should place your horizon on the top line. This way the set of rocks are dominant and you can see the area surrounding them.
Putting the horizon in the middle may seem like the right thing to do, giving both sky and land or sea equal parts. But by choosing to give one more importance over the other, a few things will now happen to your photograph. First, it will have a stronger impact by telling the viewer where to focus. Second, your subject will be more dominant. And third, there will be a better flow to your story. Even more so if you incorporate the second feature of the rule, points of interest.
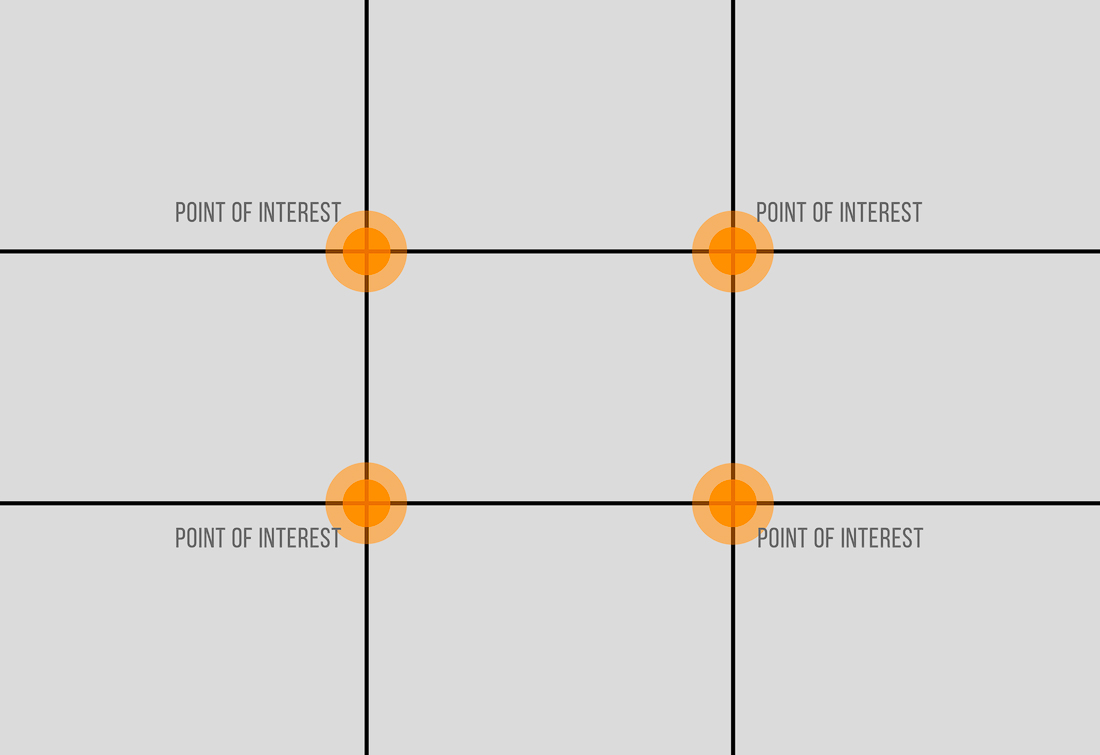
The Points of Interest
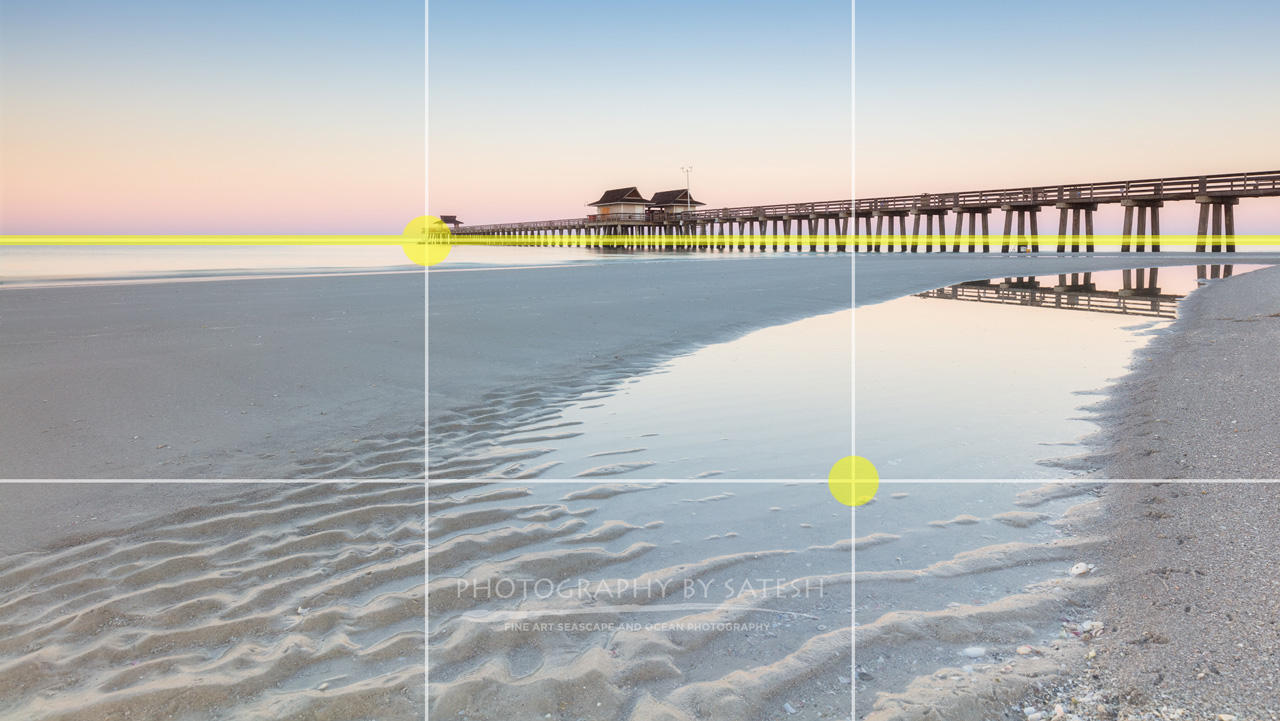
The rule of thirds states that the subject or point of interest should be placed on one of the four points where the horizontal and vertical lines intersect. According to studies, the eye is always naturally drawn to those points, and that’s why it’s best to place your subject there.
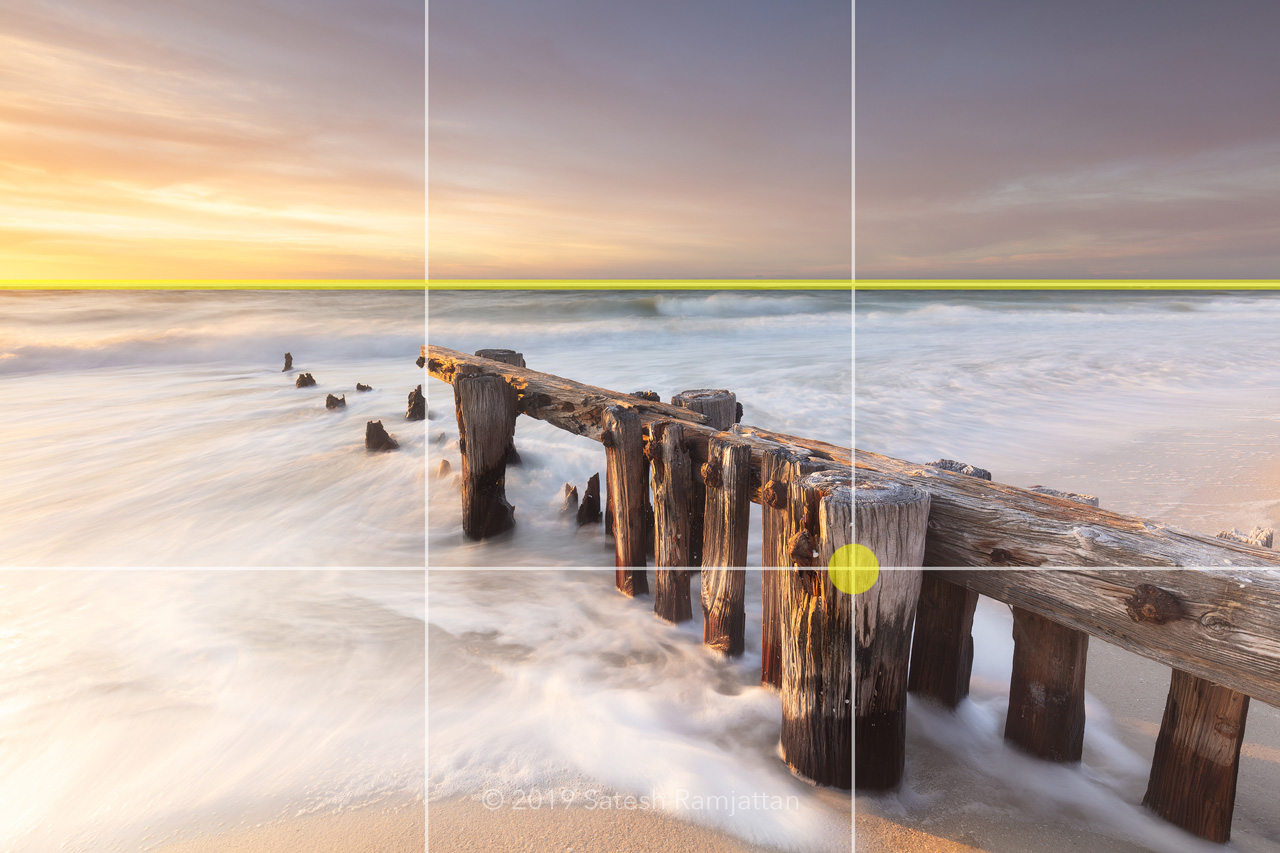
Take a look at some of these examples where the rule of thirds is used. Some photographs were taken using both features of the rule (horizon and points of interest), and some just demonstrate one.


Use your Camera’s Rule of Thirds Grid Display
For beginners and even pros, it’s helpful when composing a shot to have the rule of thirds grid enabled on the back lcd. DSLRs made in the last decade will have this option. Even the iPhone can show it. If you don’t know how to turn it on, just refer to your camera’s manual. I recommend to frame your shot correctly in camera. But, keep in mind that all popular post processing applications have tools to help you crop and reframe your shot to fit within the rule.
So now that you know what the rule of thirds is and how to use it, it’s time to try it out. First let me say, there are other techniques for composing a shot, so it’s not always necessary to use the rule of thirds. Use the rule as a stepping stone. Combine it with other techniques to compose your shot. In time, you can start breaking the rule of thirds. Before attempting to break the rule, learn to master it first.
Did you enjoy this tutorial ? If so, take a moment to subscribe and you will be immediately notified whenever a new post is published. Also, check out my other tutorials like the long exposure guide.