Have you ever wanted to photograph the beach but don’t know where to start? In this article, I will share my experiences on how to photograph beaches. It’s perfect for beginners and professionals.
Who doesn’t love the beach? I think as human beings we are somewhat instinctively drawn there, whether for recreation, relaxation, romance or perhaps it’s just the lure of the sea. Whatever it may be, there’s no denying that the beach has so much to offer, including many photographic opportunities! As someone who has spent over a decade photographing seascapes, I’m going to share with you my experiences and insights on how to successfully capture photographs of the beach. I’ll also offer some advice for protecting your gear against sand and saltwater damage.
As landscape photographers, we’re always at the mercy of what Mother Nature presents to us. It’s then our goal to take what we are given and use our creative minds to paint a picture with our camera and lens. The next section will be categorized into three different forms of beach photography, and what conditions and techniques work best for each. I’ll start with how to photograph beaches, then abstract seascapes, and finally wave photography.
How to Photograph Beaches: Traditional Seascapes
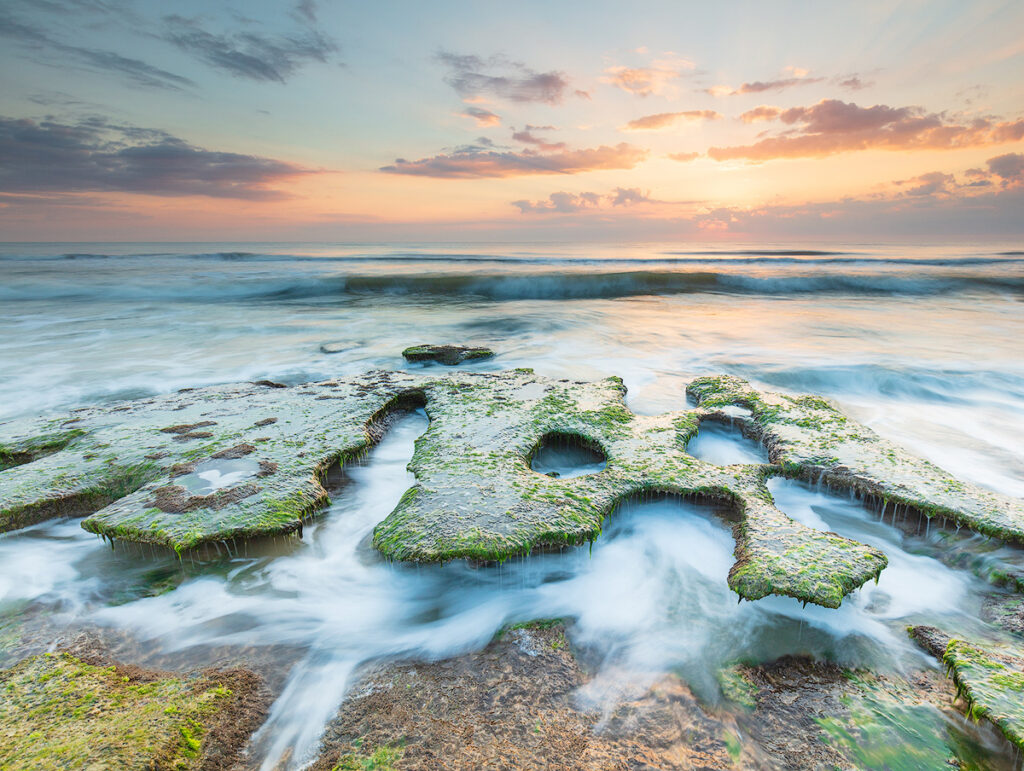
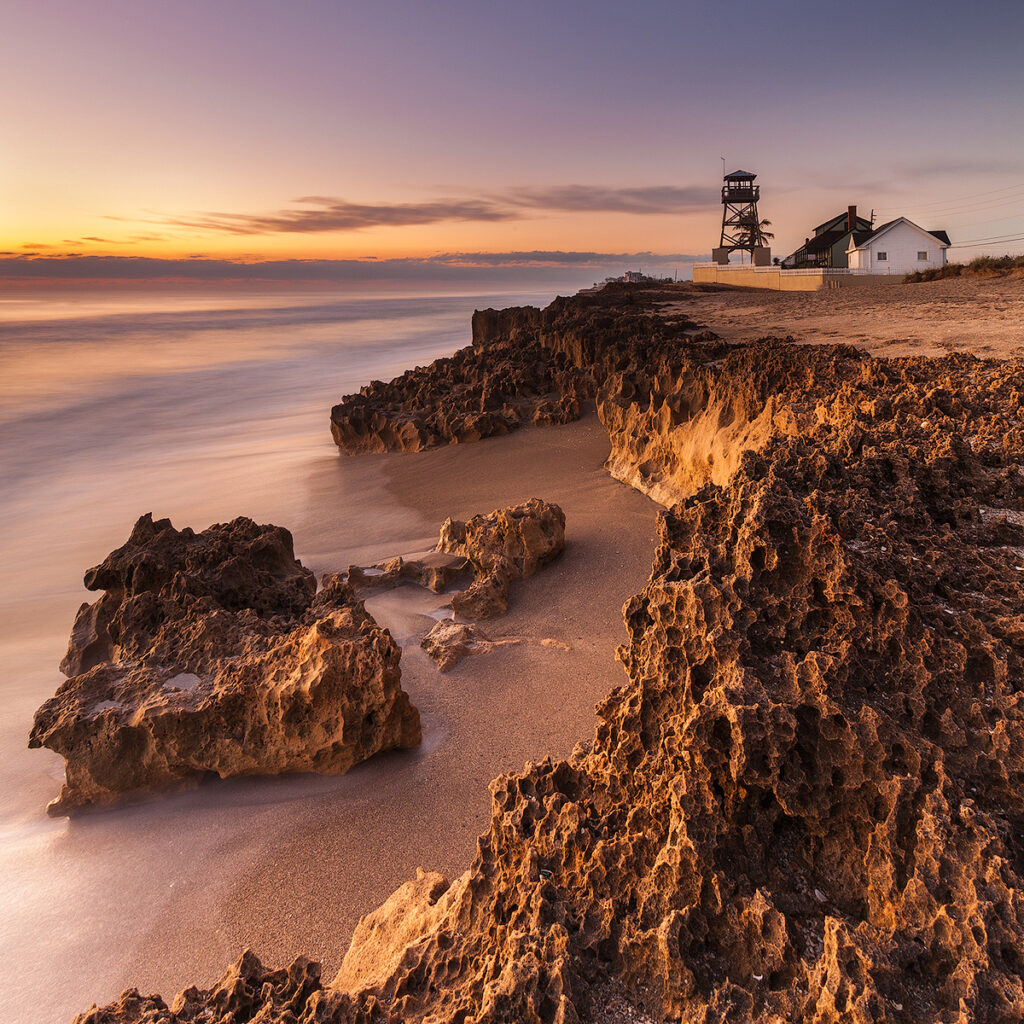
There are so many different types of beaches around the world! Some are tranquil with white sand, palm trees, and turquoise water, while others look primordial with black volcanic sand and giant rock spires jutting out of the ocean. I believe that these types of beaches are best photographed in a traditional manner to showcase their natural beauty. And by traditional, I mean your photograph should contain a foreground, a background, and a clear subject like fishing piers, rocks, driftwood, and even wildlife.


Best times and weather conditions
Sunrise and sunset offer the best light to compliment these beach scenes. Arriving at your location at least 30 minutes before sunrise is ideal as you will have some time to find and work on your composition, then simply wait for when the light is just right to click the shutter button. The same applies for sunset but you’ll want to stay at least 30 minutes after the sun goes down. During these times, depending on the weather conditions, you’ll also be able to capture some colorful ethereal skies. I like to plan my beach photography when the forecast calls for at least a 50 to 60 percent chance of cloud cover. Having clouds will add interest to the sky and background while reflecting a soft light onto your subject and foreground. I especially love it when storm clouds build at sunrise or sunset. It can be a huge gamble to photograph the beach during a storm as your chances of getting rained out are incredibly high, but if everything comes together just right, the results can be utterly breathtaking!
Pro tip: Find something interesting that can help to anchor your foreground. Rocks, seashells, and shore birds are some examples of a strong foreground interest. If you can’t find something, don’t be afraid to just include yourself. Sometimes having that human element can connect with your audience on a deeper level!
Best techniques
Since we’ll be photographing these scenes in low light using small apertures (f8-f11) for a wide depth of field, our shutter speeds will be fairly slow, but that’s a good thing! Using a slow shutter speed will give your photographs a very painterly feel, especially when waves are crashing in or receding into the ocean. I have found that using a shutter speed ranging from ¼ to 3 seconds gives the best results. This is because the viewer will still be able to appreciate the detail of the water while still getting a sense of the movement. If you want your photos to have a mysterious feel, then I recommend using long exposures. While there isn’t an exact number that constitutes what a long exposure is, I feel the shutter speeds ranging from 20 seconds or more will always give you smooth and silky water. I have also found that using shutter speeds of 1 to 2 minutes can add even more drama, especially if there are fast-moving clouds to create a “zoom” effect.
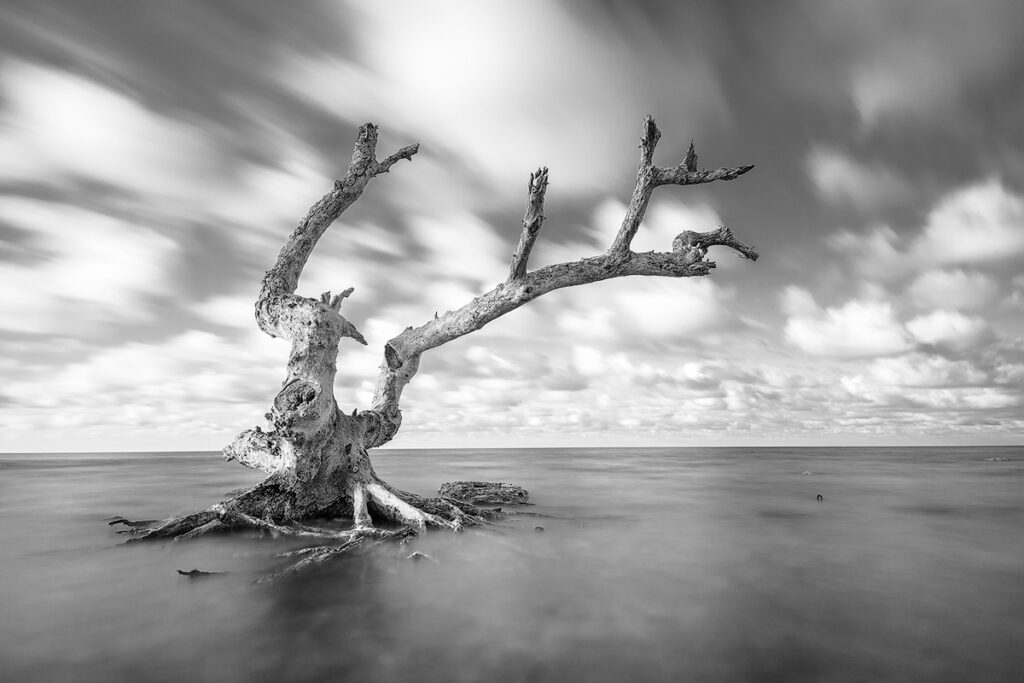
There are two tools you’ll need to successfully capture long exposures: a sturdy tripod (carbon fiber) and a solid/fixed neutral-density (ND) filter that cuts the light by at least 6 stops. I don’t recommend using variable ND filters since they tend to leave a color cast as well as a cross-polarization effect.
If you own a modern mirrorless camera produced within the last 2 years, you may not need a tripod. This is because they have a feature that can be toggled on or off called IBIS, which stands for In-Body-Image-Stabilization. IBIS enables you to achieve sharp handheld photos when using slower shutter speeds. You can double your success rate by using IBIS in combination with lenses that also have (IS) image stabilization.
Pro tip: make your tripod more stable by pushing it down into the sand a bit, especially if you are close to the water. Waves will cause your tripod to sink slightly into the sand and you don’t want this or any kind of movement to happen during your long exposure. Also, use the 2-second timer on your camera to eliminate any shake after you’ve pressed the shutter button.
How to Photograph Beaches: Abstract Seascapes
I’m the type of person that sees beauty in all of nature. If your local beach is “plain” and only consists of sand and ocean, you might not feel motivated to take photos there because it’s “boring”. In this section, I’m going to discuss how to see the beauty of these beaches and which photography techniques are best suited to them.
One thing I love about abstract seascapes is that they can be created at any time of the day, although I still recommend sunrise or sunset for the best colors. Also, if you choose to shoot in bright conditions, an ND filter will be necessary to slow your shutter speeds.
The first technique for creating abstract seascapes is a form of ICM (intentional camera movement) called panning. The term panning comes from the video industry in which the camera is rotated horizontally from one side to the other. In photography, panning your camera while using a slow shutter speed creates a very unique abstract image. Depending on your preference, you can choose to pan using a tripod or go handheld. If you are a bit OCD like I am and prefer sharp, straight lines, then you will want to use a tripod. The first step to achieving straight lines is to have your tripod balanced by adjusting each leg while paying attention to the built-in bubble level. I do find this quite time-consuming so I choose to use a leveling base instead. A leveling base sits between your tripod and ball head so you can quickly balance your camera without having to adjust each tripod leg until it is level. You can find some tripod brands that have a leveling base already built in.
Pro tip: Before taking the shot, enable the digital level on your camera and pan your camera to point A to check if you’re level, then pan your camera to point B and make sure you’re level there as well. If both points are leveled, you should have straight lines in your final image.
Lens choice and settings
I think the ideal lens for panning is the classic 24-70mm due to its versatile zoom range. Sometimes you may want your image to be wide enough to include the sand, ocean, and sky, while other times you may just want to be zoomed in to include only two elements. As far as shutter speed, it’s fun to experiment to find what you like best. I like to stay within the range of 1-4 seconds. Shutter speed isn’t the only factor that determines how abstract your image will turn out. The speed and distance/degree at which you pan your camera also plays an important role. Think of it like brush strokes on a painting! For example, panning your camera fast to 45 degrees using a 1-second shutter speed will give you a short brush stroke effect. Now if you want a longer brush stroke effect, you’ll want to increase your shutter speed to around 3 seconds and slowly pan 180 degrees. Again, the point is to have fun experimenting and find a look that works for you.
Pro tip: pay attention to the degree markings on your ball head to see how far you are panning and keep notes of the distance that gives you your best results.


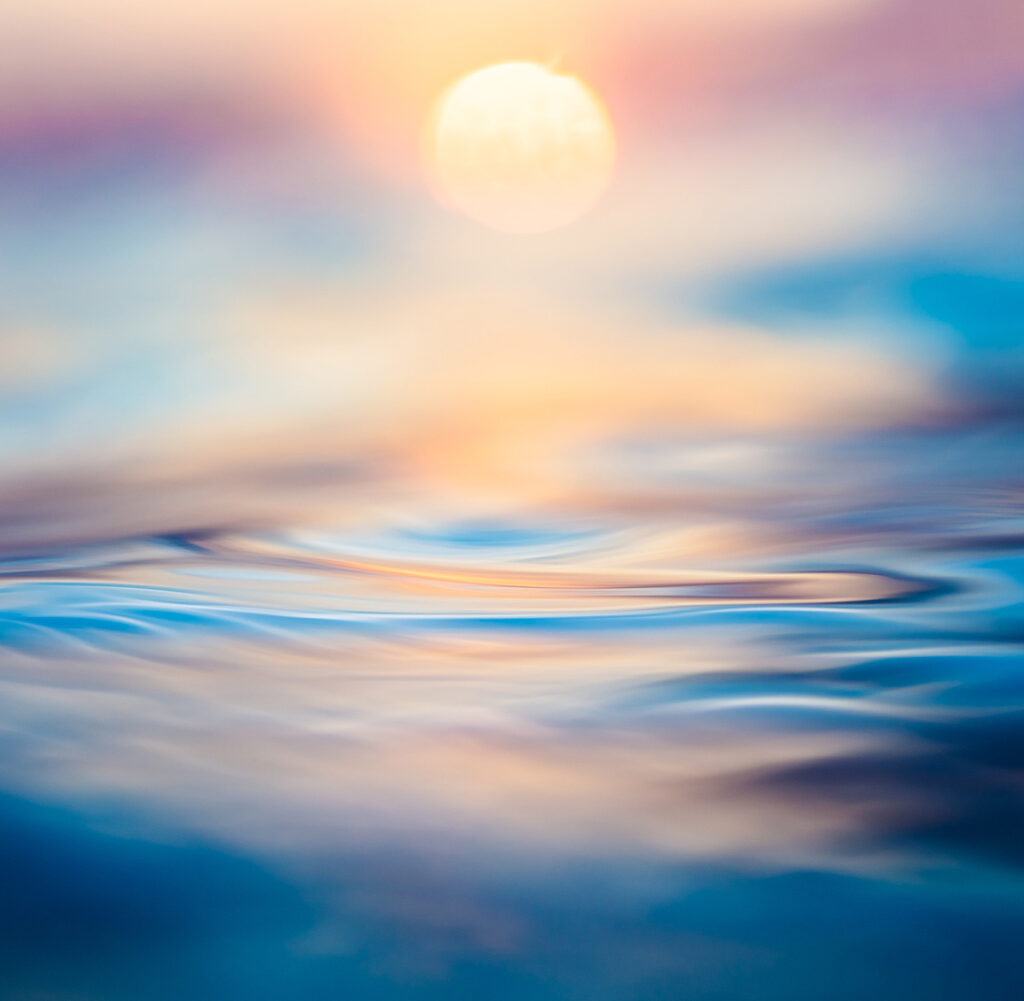
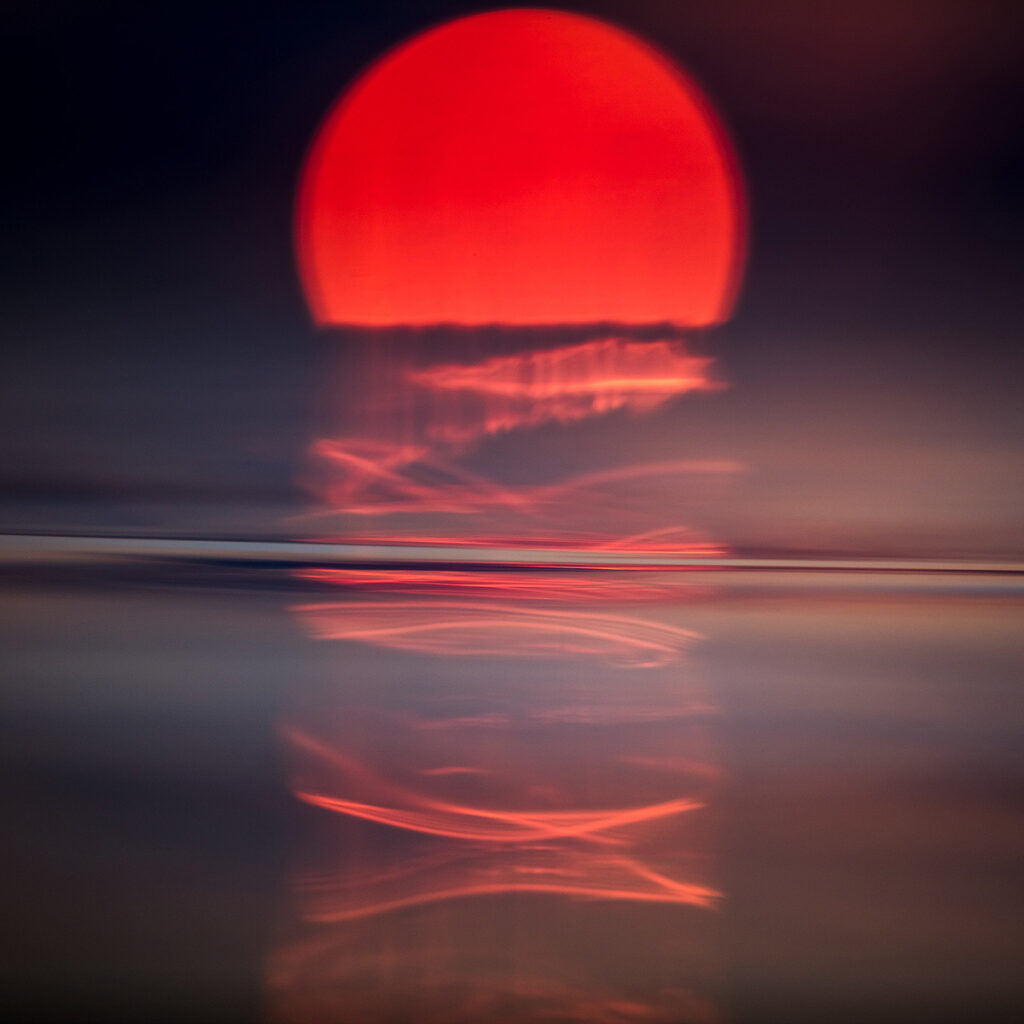
The next form of abstract seascapes requires you to get into the ocean with your camera. Now, I don’t think there is a coined name for this style, but I refer to it as ocean abstracts since the focus is on the ocean and its surface textures, although there are times when including the sun can create some amazing images as well. I will be upfront and say there is quite a bit of a financial investment to capture these ocean abstracts. So before I discuss technique, I will go over what gear is necessary, and what gear I consider to be a “luxury” item. You can then decide if the investment is worth it for you!
Water housings
As I mentioned earlier, to capture ocean abstracts, you will need to get into the ocean with your camera and lens. You don’t want to ruin your kit, so purchasing a water housing that your specific camera fits into is absolutely necessary. Unfortunately, most camera housings do not include protection for your lens, so once again you will need to buy a specific lens port that screws on the housing. You’ll need a water housing that allows you to have full control over your exposure and focus settings. I’ll get into this more later when discussing lenses, but having the ability to zoom in and out could be handy. Toss this feature into the “luxury” item list as it is not really needed! Another “luxury” feature is having a housing that allows you to trigger your camera’s shutter using a pistol grip. I find having a pistol grip offers a bit more stability making it easier to compose the shot while being bounced around by the ocean.
Lenses and depth of field
Ocean abstracts are all about focusing on the textures of the ocean. To achieve this, you will need a lens with a very low f-stop/aperture preferably in the f1.4 to f2.8 range. Using a lower f-stop will give you a very shallow depth of field allowing you to really isolate the textures. The other advantage will be to let more light into your camera since a fast shutter speed is key, but more on that later. As far as focal lengths, I find 50mm up to 200mm to be the sweet spots. My go-to lenses are the 50mm 1.4 prime and the 70-200 2.8 zoom. If you are a portrait photographer, you may already have these lenses in your kit, but if you do not, it will be another hefty investment.
Technique and best times
The trick to getting ocean abstracts is taking advantage of your lens’ minimum focusing distance. The reason why is that you will want your lens to be just above the ocean’s surface close to the textures. The combination of that and a shallow depth of field will create ethereal abstracts. You might be asking yourself, “Can’t I just use a macro lens?” A fair question, but the answer is, No! The minimum focusing distance of macro lenses is too much and you will end up taking photos of the reflections or imperfections on your lens port. As mentioned earlier, a fast shutter speed is critical as well as a fast burst rate, which is how many frames per second your camera can capture. Shooting ocean abstracts can be compared to capturing birds in flight since there is a bit of “spray and pray” involved.
Definition of spray and pray: to have your camera set up in a fast burst mode, shooting several photos per second, and then simply hold down the shutter button, hoping to capture the perfect image within the sequence.
Pro tip: to maximize your chances of capturing ocean abstracts, use the AI servo focus (Canon term) mode. Also, check your local beach conditions before heading out. Ocean abstracts are best captured when the water is calm and flat.
How to Photograph Beaches: Waves
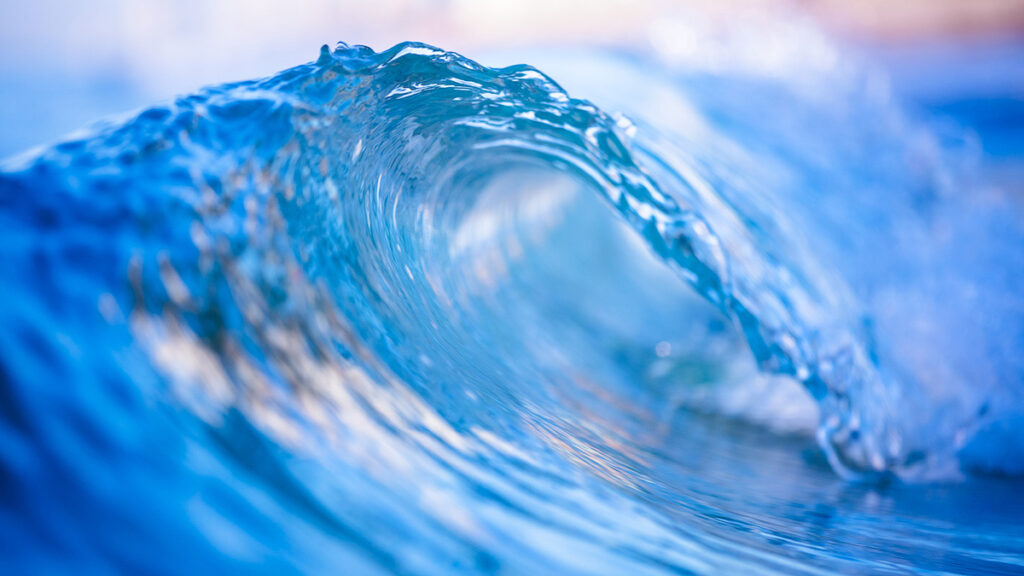
This brings us to the last form of beach photography, which is all about capturing waves. What I love most about this form is that you can choose to either photograph them from the shore or in the water. I think photographing waves is also the most fun, especially if you choose to get into the ocean! I want to be upfront here and give two disclaimers. First, depending on where you live, waves can come in different sizes and shapes. Second, because waves vary in size, you’ll want to follow proper safety measures particularly if you live in an area where waves can exceed 10 feet in height. With that said, here I’ll discuss what gear is needed, how to plan, and which settings work best.
Gear
If you plan on simply photographing waves from the shoreline or a jetty, then you’ll be fine with even a basic camera kit. You’ll want a camera that has good autofocus and that can shoot at least 8 frames per second. A zoom lens is ideal because wave heights are somewhat unpredictable, so you’ll want to have the ability to adjust your focal length on the fly. Depending on your proximity to the waves, a focal range of 35mm to 200mm will suffice. Shooting waves from water will require you to have a water housing as discussed in the previous topic. Again, due to the unpredictable nature of wave heights, a zoom lens is preferred. Since you will be quite up close to the waves, a focal range of 16mm to 50mm will work best. There are a couple of budget-friendly gear options that can work as well. The first would be using your smartphone inside of a water housing, and the second is an action cam. Both of these options have their pros and cons, such as a limited focal range and image quality, but are still great to get started with.
Pro tip: if you live in an area with small waves, try laying in the sand on your belly to make the waves seem bigger than they are. Be sure to constantly monitor how far the surf comes up so you and your gear don’t get pummeled by a rogue wave.
Planning
Many professional photographers travel around the world chasing huge waves. They don’t just show up hoping for waves, but instead, they plan by paying attention to the weather reports and tide charts. Some basic information looked at are winds, rip tides or currents, and incoming cold fronts. If you’re not keen on learning the science, then one of the best alternatives is to chat with the local surfers. Be aware that most surfers are part of a very tight-knit community and are usually hesitant to share this information since they want the best waves all to their own. So my advice would be to perhaps offer to take photos of them surfing in exchange for their knowledge. One other option would be to use an app that is dedicated to forecasting waves based on a location you input, though these apps usually require a paid subscription.
Settings
Photographing waves is similar to shooting sports or birds in flight. You’ll want to use a really fast shutter speed like 1/500 and above to freeze the movement. This way the viewer can see every detail of the wave right down to the sea spray! Make sure your camera is set to continuous shooting mode so you don’t miss a frame of the action. Once again, there will be a bit of “spray and pray” involved here.
You can also photograph waves using the ICM method or with just a slow shutter speed as discussed back in the abstract seascapes section. Staying within the range of ¼ to 2 seconds will make your wave photographs look like a painting. Have fun experimenting with how you move your camera using varied shutter speeds. Continuous shooting mode is also recommended because each frame will be its own work of art!
After care
I’ve learned the hard and expensive way that salt water and beach sand can take their toll on camera gear, especially if not taken care of properly. So after each session, you’ll want to take these steps to ensure your gear doesn’t fall victim to the elements.
First, if using a tripod, wash it as soon as you can with fresh water. Don’t wait a day! Most beaches have shower stations so I suggest using them to rinse your tripod with. Make sure you fully extend all the legs so every inch is cleaned. Use a cloth or towel to wipe them dry. If your tripod has twist locks, you’ll want to thoroughly clean them too. Use the same steps for your housing as well as the instructions from the manufacturer.
Second, wipe every inch of your camera and lenses down with a soft cloth lightly dampened with fresh water.
Lastly, dehumidify your camera and lens. Purchaser an electronic dry cabinet or put them in a case filled with silica gel packets overnight.
In conclusion, I hope you learned how photograph beaches in different ways. You can showcase the serenity or capture the raw power of ocean waves! Perhaps you’ve already tried some of the methods I’ve shared with you, or maybe you’re just intrigued and don’t know where to start. Either way, I hope I’ve inspired you to get out to your local beach and find the beauty it has. And as always, please remember to show respect to our planet and its precious oceans.
If you would like to learn more, consider subscribing to my Youtube channel for lots more content.